This page presents download files and installation instructions to update your TriSensor via OTA software and form part of the larger TriSensor user guide.
Update TriSensor firmware via Z-Stick.
As a part of our Gen5 range of products, TriSensor is firmware upgradable. Some gateways will support firmware upgrades over-the-air (OTA) and have TriSensor's firmware upgrades packaged as part of their platform. For those that don't yet support such upgrades, TriSensor's firmware can be upgraded using Z-Stick from Aeotec (or any other Z-Wave compliant Z-Wave USB Adapters from any manufacturer) and Microsoft Windows.
Requirements:
- Windows PC (XP and above)
- Z-Wave USB Adapter (Z-Stick, UZB1, SmartStick+, or other standard Z-Wave USB Adapters can be used)
Remarks:
- Make sure you perform the update of TriSensor within 10ft or directly next to your Z-Stick Gen5 for the firmware update to avoid corruption and bricking.
Changelogs V2.21
- (V2.11) - Resolves white LED blinks randomly when re-powering sensor
- (V2.12-2.15)
- Fixes light sensor reporting 0 all the time.
- Fixes sensor cashing when re-powering
- Changes how Light Coeffecient parameter setting is used for Parameter 100 - Default coef = 117 (raising or lowering will lower or increase lux value)
- (V2.16 - 2.21) - Adjusts battery calibration method for factory production (does not require recalibration of battery for older hardware)
To upgrade your TriSensor using a Z-Stick or any other general Z-Wave USB Adapter.
Method 1 -
- If your TriSensor is already part of a Z-Wave network, please remove it from that network. Your TriSensor manual touches on this and your Z-Wave gateway's / hub's user manual will provide more specific information. (skip to step 3 if it is part of a Z-Stick already)
- Plug the Z‐Stick controller to the USB port of your PC host.
- Download the firmware that corresponds to the version of your TriSensor.
Warning: downloading and activating the wrong firmware will brick your TriSensor and render it broken. Bricking is not covered by warranty.
V2.21
Australia / New Zealand frequency - version 2.21
-- AU V2.21 OTZ file
European Union version frequency - version 2.21
-- EU V2.21 OTZ file
United States version frequency - version 2.21
-- US V2.21 OTZ file - Open the "TriSensor_XX_OTA_V2_21.exe" (XX can be EU, AU, or US based on the version you've downloaded) file to load the user interface.
- Click CATEGORIES and then select SETTINGS.

7. A new window will pop up. Click the DETECT button if the USB port is not automatically listed.

8. Select the ControllerStatic COM port or UZB, and then click OK.
9. Click ADD NODE.
10. Then short press the TriSensor's “Action Button”. At this stage, the TriSensor will be added to the Z-Stick's own Z-Wave network.
Note - The TriSensor will be added as the latest Node ID XX, so if the last Node ID added was for example 27, the next Node ID the TriSensor should appear as is 28.
10.2. Wait about 30 seconds before you continue onto step 11.
11. Highlight the TriSensor (shows as "Sensor Notification" or select it based off the Node ID).
Then check-mark the "Queue override" box.
12. Wake up your TriSensor, press and hold its action button until the LED turns YELLOW color, and then release the action button.
Ensure that the LED remains solid yellow before you move onto the next step.
Note - If the yellow LED de-activates soon after you release the action button, use Method 2 to complete the firmware update which is located towards the bottom of this article.
13. Before you start updating, make sure to keep TriSensor within 10 ft or right next to the Z-Wave USB Adapter performing the update.
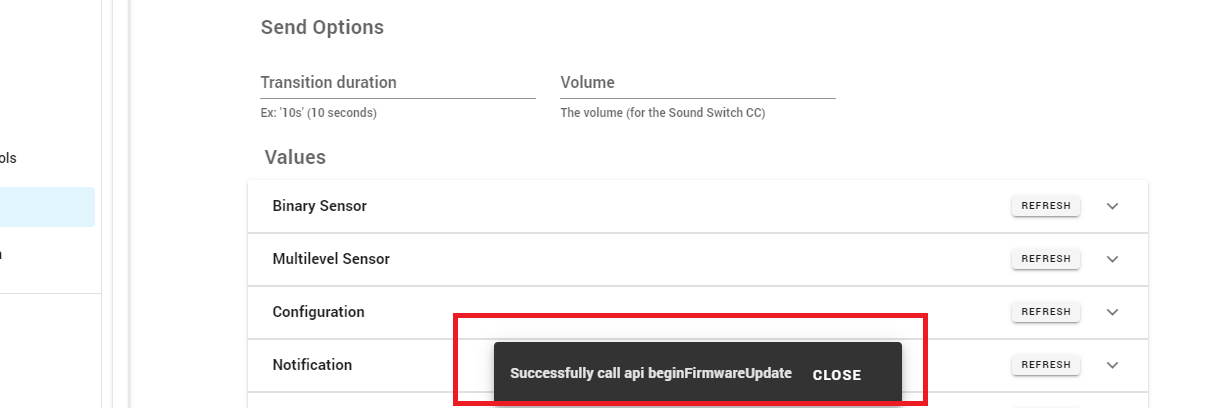
Select FIRMWARE UPDATE and then click UPDATE button. The over-the-air firmware upgrade of your TriSensor will begin.
TriSensor will also confirm by flashing a cyan colored LED.
13.1. (Skip this if LED remained solid yellow in step 12)
14. After about 5 to 10 minutes, the firmware upgrade will be completed. A window will pop up with the status “[0xFF] Received status: New image was successfully stored to temporary NVM. The device will not start storing the ne image to the primary NVM. Then the device will restart itself.” to confirm successful completion.

Click on OK to close the popup window.
15. Wait about a minute for TriSensor to reboot itself and save the firmware update into its memory. When finished a "Completed: 0XX - NOP" will appear in the logs.

Note - If you have multiple Z-Wave devices in your network, it is possible it may cause other logs to be received, you may miss the NOP report.
Multiple NOPs will be sent, but after the first NOP, the device should restart itself.
The ending message will result in "Firmware Update Completed. The device restarted." but you usually don't have to wait. By tapping the action button, you can confirm if it restarted if the LED lights up with purple or yellow.
16. Now press "Remove Node" button and tap the button on TriSensor to factory reset and exclude it.
17. Now re-include your TriSensor back into your network using the original software.
Method 2 -
- Amber/Yellow LED should remain active while TriSensor is awake before opening up the OTA update software in step 4.
Otherwise - Click on "Categories -> Settings" then select the COM port your Z-Wave USB Adapter is connected to.

9. After about 5 to 10 minutes, the firmware upgrade will be completed. A window will pop up with the status “[0xFF] Received status: New image was successfully stored to temporary NVM. The device will not start storing the ne image to the primary NVM. Then the device will restart itself.” to confirm successful completion.
Click on OK to close the popup window.
10. Wait about a minute for TriSensor to reboot itself and save the firmware update into its memory. When finished a "Completed: 0XX - NOP" will appear in the logs.
Note - If you have multiple Z-Wave devices in your network, it is possible it may cause other logs to be received, you may miss the NOP report.
Multiple NOPs will be sent, but after the first NOP, the device should restart itself.
The ending message will result in "Firmware Update Completed. The device restarted." but you usually don't have to wait. By tapping the action button, you can confirm if it restarted if the LED lights up with purple or yellow.
11. Now press "Remove Node" button and tap the button on TriSensor to factory reset and exclude it.
12. Now re-include your TriSensor back into your network using the original software.
With Z-WaveJS2MQTT:
V2.21
Australia / New Zealand frequency - version 2.21
-- AU V2.21 OTZ file
European Union version frequency - version 2.21
-- EU V2.21 OTZ file
United States version frequency - version 2.21
-- US V2.21 OTZ file